品质铸就品牌
以适应光学发展为己任
诚信
铸就未来
质量
赢得市场
奋进
铸就辉煌
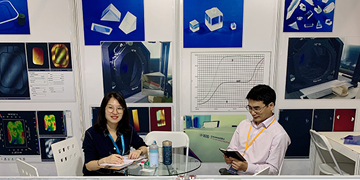
ABOUT US
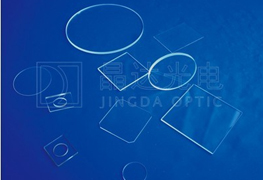
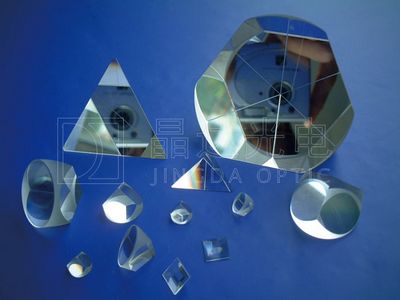
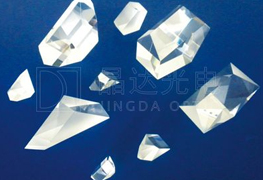
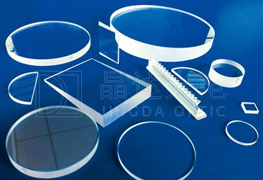
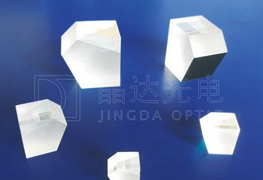
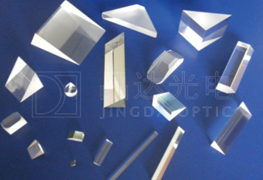
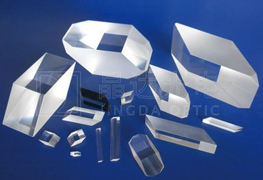
博富网页版成立于2001年,是一家专业从事高精度光学零件研发、生产和销售的技术企业。拥有先进的光学平面零件加工、检测设备。主要设备:箱式多层镀膜机、环形抛光机、内圆切割机、研磨抛光机、分光光度计、ZYGO平面激光干涉仪、精密测角仪、波片位相延迟检测仪、角锥检测专用干涉仪、博富(中国)检测专用干涉仪、晶体X射线定向仪等。